01
Observe Before Adjusting
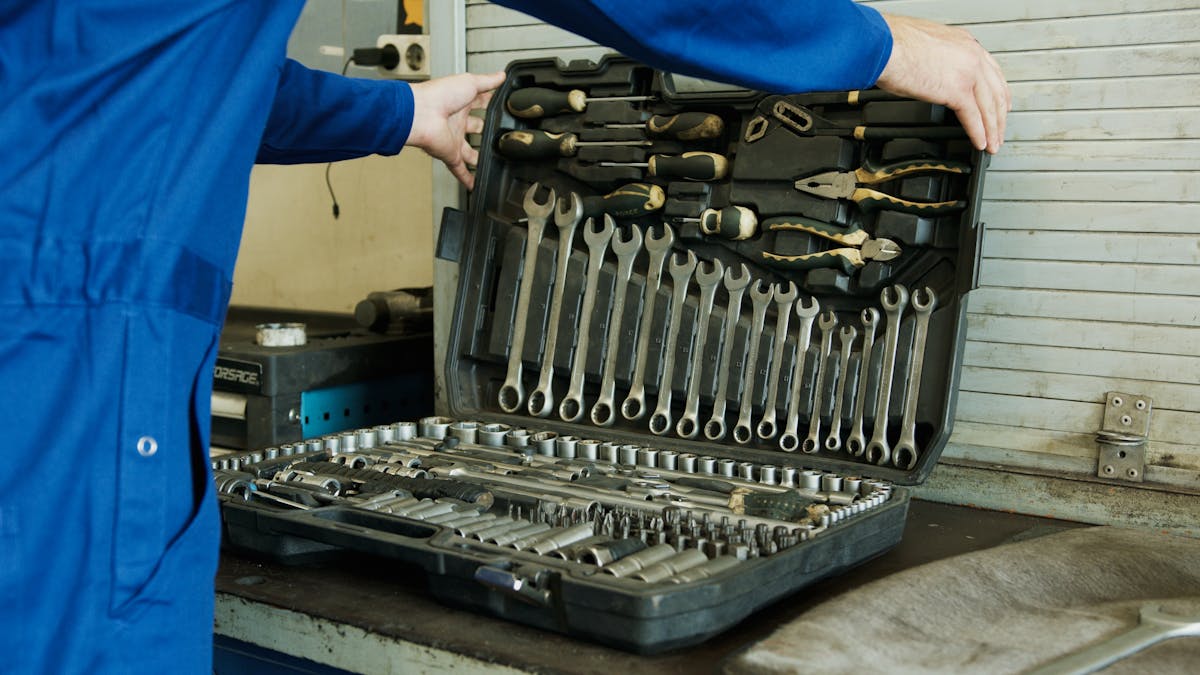
Look for movement, looseness, uneven alignment, surface wear, moisture, discoloration, unusual noise, damaged insulation, corrosion, and changes in operating feel before reaching for a tool.
GearHaven Maintenance Journal
Small inspections made on schedule can prevent loose hardware, worn tools, hidden leaks, unreliable fittings, poor electrical connections, and rushed emergency repairs. Build a maintenance rhythm around observation, adjustment, cleaning, measurement, and early correction.
24/7
Customer support
Free
Shipping on all products
3–5
Business day delivery
30 Days
Free returns and exchanges
Maintenance Philosophy
Preventive work is less about performing one large repair and more about recognizing small changes before they become expensive, disruptive, or difficult to correct.
Look for movement, looseness, uneven alignment, surface wear, moisture, discoloration, unusual noise, damaged insulation, corrosion, and changes in operating feel before reaching for a tool.
A loose hinge screw, shifting anchor, stiff lock, dripping faucet, damaged driver tip, or worn power-tool accessory is easier to address before repeated use magnifies the problem.
Most wear appears where surfaces meet: jaws on hardware, bits in fasteners, hinge leaves at pivot points, anchors inside wall material, faucet seals, switch terminals, and outlet connections.
A simple maintenance record helps distinguish a one-time adjustment from a recurring condition and makes it easier to see when a fitting, tool, fixture, or component is approaching replacement.
Maintenance Rhythm
Not every component requires the same attention. Frequent visual checks catch obvious changes, while deeper seasonal and annual reviews create time for cleaning, measurement, adjustment, and planned replacement.
01
Confirm that the tools and hardware entering the job are clean, complete, correctly sized, and free from visible damage.
02
Use a short walkthrough to identify loose hardware, slow leaks, sticking movement, visible wear, or frequently used tools that need attention.
03
Give regularly used fixtures and workshop equipment a closer inspection before normal wear turns into poor fit or unreliable operation.
04
Use changes in household activity and weather as reminders to review hardware, fixtures, stored tools, and repair supplies.
05
Perform a broad condition review and identify components that should be replaced, upgraded, reorganized, or professionally evaluated.
Home Systems
Preventive maintenance becomes more useful when attention is directed toward the points people touch, turn, pull, fasten, open, close, plug into, or expose to water every day.
Movement
Watch for uneven gaps, dropped doors, loose screws, scraping, noise, or movement around the mounting points. Early adjustment can reduce repeated stress on both hinge hardware and surrounding material.
Access
Pay attention to difficult key movement, a latch that no longer meets the strike cleanly, loose trim, or hardware that shifts during use. Changes in alignment often become more noticeable over time.
Mounting
Recheck items that carry regular loads. Look for movement, enlarged holes, cracked surrounding material, exposed gaps, or fasteners that repeatedly loosen after tightening.
Water
Slow drips, moisture around connections, stiffness, loose handles, unexpected movement, or mineral buildup can indicate that cleaning, adjustment, sealing, or replacement should be considered.
Electrical
Stop using an outlet that is visibly damaged, unusually warm, loose in the wall, discolored, cracked, or producing unexpected behavior. Electrical concerns should be addressed using appropriate safety practices.
Control
A loose switch plate, inconsistent operation, unusual heat, visible damage, or a switch that feels different from normal use deserves attention rather than repeated operation.
Tool Care
A tool that is dirty, damaged, poorly stored, or fitted with a worn accessory can make a simple task harder. Consistent tool care supports accuracy, control, and reliable setup.
Clean tools after dirty, dusty, wet, or abrasive work instead of storing residue with the tool.
Inspect gripping surfaces, driver tips, striking faces, cutting accessories, housings, cords, and moving joints before the next project.
Store tools dry, organized, and separated from conditions that encourage corrosion, contamination, impact damage, or lost components.
Replace accessories that no longer hold, cut, grind, drive, measure, or fit consistently.
01
Check that the head is secure, the striking face is in usable condition, and the handle shows no splitting, movement, deep damage, or other condition that could affect controlled use.
02
Remove debris from the jaws and joint. Watch for excessive looseness, binding, chipped gripping surfaces, damaged handles, or corrosion that changes normal movement.
03
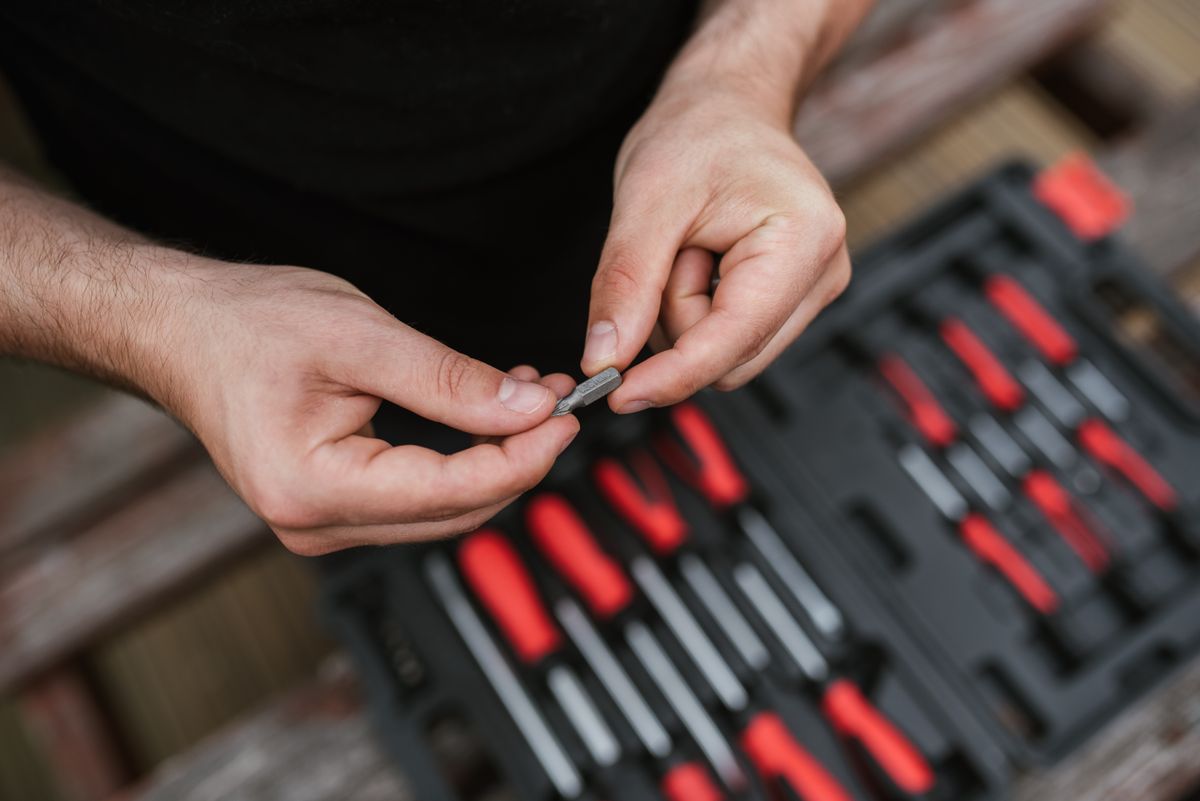
Keep tips clean and correctly matched to fasteners. Retire badly worn driver tips that slip, deform fasteners, or no longer seat fully in the screw head.
04
Keep ventilation areas clear, inspect the chuck and housing, review accessories before use, and follow the manufacturer instructions for battery, cord, storage, and maintenance requirements.
05
Check guards, accessories, housings, and controls before operation. Worn, damaged, incorrectly rated, or questionable abrasive accessories should not be used.
06
Wipe the blade clean, avoid uncontrolled snap-back, and check that the hook, markings, lock, case, and return action remain suitable for repeatable measurement.
07
Store unused anchors by type and size so the correct fastener remains paired with the correct anchor. Do not reuse hardware that has been visibly damaged or distorted.
08
Keep mounting screws secure, monitor alignment, and investigate recurring looseness instead of repeatedly tightening a fastener that no longer holds properly.
09
Observe changes in latch alignment, hardware movement, key operation, and closing force. A lock should not require increasing force to compensate for a shifted door.
10
Watch for moisture, drips, loose handles, movement at the base, changing flow behavior, and signs of buildup around frequently used surfaces and connections.
11
Visually inspect for cracking, discoloration, looseness, damaged cover plates, or other abnormal conditions. Stop use and seek appropriate assistance when electrical safety is uncertain.
12
Check for secure mounting, normal mechanical feel, intact plates, and consistent operation. Unexpected heat, visible damage, or irregular behavior warrants further evaluation.
Inspection Matrix
A useful inspection compares normal condition with visible or functional change. The goal is not to force an immediate repair, but to recognize when an item deserves cleaning, adjustment, replacement, or professional evaluation.
Maintenance Workflow
Use the same sequence whether you are inspecting a tool, a hinge, a wall mounting point, a faucet, or a frequently used household control.
Begin without changing anything. Look at alignment, surrounding surfaces, fasteners, joints, wear points, moisture, residue, discoloration, and signs of repeated movement.
Ask what is different from normal operation. A new sound, extra force, looseness, visible shift, or recurring mark can be more useful than a quick assumption about the cause.
When position or fit matters, use a tape measure and clear reference points instead of relying only on visual judgment. Record dimensions before removing replacement hardware or fixtures.
Apply the smallest appropriate intervention first. Cleaning, tightening, realignment, correct hardware selection, or replacing a worn accessory may resolve a developing issue before broader work is required.
After maintenance, confirm that movement, hold, measurement, fastening, flow, or operation is stable and predictable. Do not treat completion as proof that the result is correct.
Note what changed, what was adjusted, and whether the same issue has appeared before. Repetition is valuable information and can indicate that replacement or deeper evaluation is justified.
Early Warning Signs
Preventive maintenance is most effective when small changes are treated as information. The following signals do not all mean the same thing, but they are worth observing rather than ignoring.
A fixture, hinge, mounting point, outlet, switch, lock, or tool component that begins moving where it previously felt stable deserves inspection.
A task that suddenly requires more pressure, torque, grip, or effort may indicate misalignment, wear, contamination, an incorrect fit, or a developing mechanical problem.
A fastener that repeatedly loosens can point to worn material, movement, vibration, damaged threads, poor fit, or an installation that needs more than another tightening cycle.
Unexplained dampness, water marks, droplets, or recurring moisture near a plumbing fixture should be investigated before surrounding materials are affected.
Rounded driver tips, damaged gripping surfaces, cracked housings, split handles, worn accessories, or distorted hardware reduce the quality of the working interface.
A new scrape, rattle, grinding sound, click, buzz, or vibration can be an early sign that alignment, fit, hardware condition, or tool operation has changed.
Unexpected warmth, visible discoloration, scorching, or damaged electrical components should not be treated as routine wear. Stop use and address the condition appropriately.
If the same item needs frequent correction, record the pattern. Repeated adjustment often indicates that the underlying cause has not been resolved.
Readiness Checklist
A short preparation step reduces rushed decisions. Know what you are inspecting, gather the correct tools, confirm the working area is accessible, and understand when a task should stop.
Maintenance Record
A maintenance log does not need to be complicated. The most useful record captures what changed, what you did, and whether the same condition has appeared before.
GearHaven Service
Maintenance planning is easier when product support, delivery expectations, and return terms are clear before a replacement or repair item is ordered.
Always Available
Questions can arise while planning a repair, checking an order, or reviewing a replacement. GearHaven customer support is available around the clock.
Straightforward Shipping
All products include free shipping, keeping standard delivery costs simple when a maintenance project requires tools, hardware, or household repair items.
Delivery Planning
Orders are delivered within an estimated 3–5 business day window, helping you coordinate maintenance work around expected product arrival.
Flexible Resolution
GearHaven offers free returns and exchanges within 30 days, providing a practical option when an eligible item needs to be returned or exchanged.
FAQ
Answers remain collapsed until selected so the page stays focused while detailed guidance remains easy to access.
A short monthly visual check is useful for frequently handled doors, locks, hinges, faucets, switches, outlets, and mounted items. Components exposed to heavier use may deserve more frequent attention.
The goal is to identify small changes early, maintain predictable operation, reduce avoidable wear, and create time to plan an adjustment or replacement before a minor condition becomes a larger repair.
Repeated loosening should be treated as information rather than an invitation to keep applying more force. Inspect the fastener, surrounding material, alignment, load, movement, and installation condition to understand why the hardware is not remaining stable.
Store tools clean, dry, and organized so gripping surfaces, tips, joints, measuring edges, and handles are protected from moisture, debris, unnecessary impact, and lost accessories.
Review the housing, chuck, controls, accessory condition, ventilation areas, power source, and other manufacturer-specified inspection points. Do not use a tool that appears damaged or operates abnormally.
Confirm the tool, guard, housing, controls, and abrasive accessory appear suitable for use and that the selected accessory is appropriate for the tool and intended task. Do not operate damaged or questionable equipment.
Replace a tip when wear prevents it from seating correctly, causes repeated slipping, damages fasteners, or no longer provides predictable control during driving or removal.
Look for slow drips, moisture, movement at the fixture base, changing handle resistance, mineral buildup, or changes in normal flow. Persistent moisture deserves attention before surrounding materials are affected.
Stop using the concerning component and have the condition appropriately evaluated. Unexpected heat, discoloration, visible damage, looseness, or abnormal electrical operation should not be treated as ordinary wear.
Yes. Even a short record of dates, locations, observations, actions, and follow-up checks can help reveal recurring movement, repeated leaks, frequently loosened hardware, and components that are approaching replacement.
Yes. All GearHaven products include free shipping.
The standard delivery window is 3–5 business days.
GearHaven provides free returns and exchanges within 30 days.
Yes. GearHaven customer support is available 24/7.
GearHaven Support
For product guidance, order questions, returns, exchanges, or general assistance, use the GearHaven support page. Customer support is available 24/7.

Get product drops, practical tool guidance and workshop-ready ideas delivered directly to your inbox.
